To host any website ( WordPress Blog ) you require to Setup LAMP environment (Linux , Apache, MySQL and PHP). In previous article I have explained How to setup and install Raspbian on Raspberry Pi. So in this article you will learn how to install and setup Apache, MySQL and PHP on your Raspberry Pi.
Before starting installation process . You required to update your raspberry pi. To update raspberry pi run following command on raspberry pi terminal. This process may take some time to finish.
sudo apt update && sudo apt upgrade -yInstall Apache
Apache is most popular web-server on Linux. Now a days more than 70% of websites hosted on Apache. To install Apache run following command on raspberry pi terminal.
sudo apt install apache2 -y
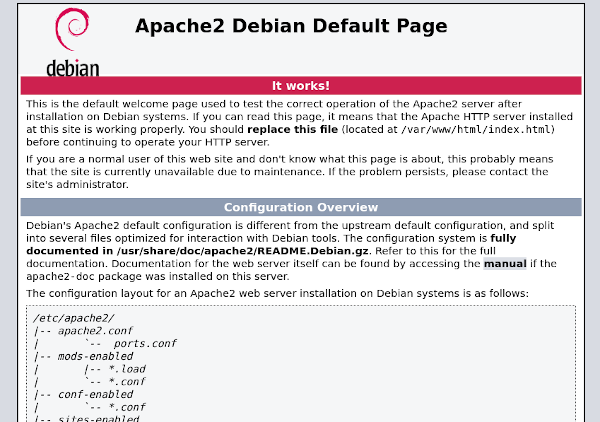
After finish of above process verify your Apache installation by opening http://localhost/ on web browser. You will see default Apache page like this one
Optionally you can enable rewrite module. Because this module is required for .htaccess URL rewriting. To enable this module run following command.
sudo a2enmod rewrite
sudo systemctl restart apache2

Install PHP
PHP is one of the most popular server side scripting language. More than 70% website use PHP. This WordPress blog is also created by PHP language. To install PHP on Apache web-server run this command
sudo apt install php libapache2-mod-php -y
After finishing of above process restart Apache server with following command
sudo systemctl restart apache2
To check whether PHP in working on your web-server. Create an PHP page in Apache document root (/var/www/html) with following command. This page will display PHP information on browser using phpinfo() function.
echo '<?php phpinfo(); ?>' | sudo tee /var/www/html/test.php
Then open http://localhost/test.php in web browser. If you see PHP info page like this then you have successfully install PHP on your server

Install MySQL (Mariadb)
MySQL was created by a Swedish company, MySQL AB which currently own by Oracle Corporation. It is one of the most popular database server. Websites like Wikipedia and CMS like WordPress uses MySQL as database server. In recent version of Raspbian MySQL is replaced with MariaDB which is fork of the MySQL and 100% backward compatible with MySQL. To install MariaDB server and its PHP module run following command
sudo apt install mariadb-server mariadb-client php-mysql -y
sudo systemctl restart apache2
Now create admin user with password to manage database. Use this command ( replace Password with your password).
sudo mysql -e "GRANT ALL PRIVILEGES ON *.* TO 'admin'@'localhost' IDENTIFIED BY 'Password';"
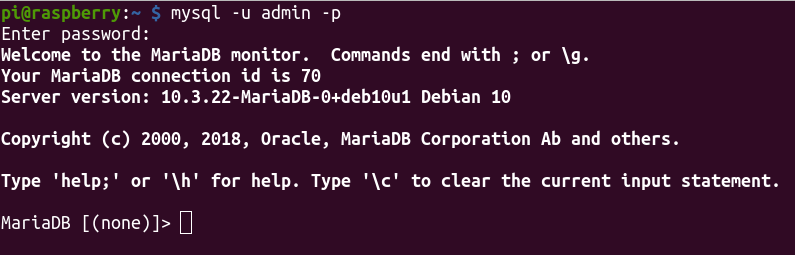
Then login to Mysql console to check every thing goes well.
mysql -u admin -p
and enter your mysql password for admin user
To create database run this command in MySQL console
CREATE DATABASE test;
Now check if PHP is able to connect with MySQL by creating mysql.php file in /var/www/html. To create mysql.php file use nano command
sudo nano /var/www/html/mysql.php
and put this code in file
<?php
$link = mysqli_connect("localhost", "admin", "Password", "test");
if($link)
{
    echo 'Connection to MySQL is successful';
}
else
{
    echo 'Unable to Connect with MySQL';
}
?>
Then press CTRL+O to save file and CTRL+X to exit from nano. Now open http://localhost/mysql.php in browser. If you see Connection to MySQL is successful then you have successfully install LAMP on Raspberry Pi.
” Now create admin user with password to manage database. Use this command ( replace Password with your password).
1
sudo mysql -e “GRANT ALL PRIVILEGES ON *.* TO ‘admin’@’localhost’ IDENTIFIED BY ‘Password’;”
Then login to Mysql console to check every thing goes well.
1
mysql -u admin -p ”
It wont accept my password
what error you are getting
After following the instructions it says for me Unable to Connect with MySQL.
what username you are using for login?
Whatever you entered in the IDENTIFIED BY section needs to be the same in the mysql.php file
For example: If you put: sudo mysql -e “GRANT ALL PRIVILEGES ON *.* TO ‘admin’@’localhost’ IDENTIFIED BY ‘Password’;”
the mysql.php would need to be:
$link = mysqli_connect(“localhost”, “admin”, “Password”, “test”);
t says for me Unable to Connect with MySQL too my username is admin.
Use same Password as entered in `IDENTIFIED BY`
hi Sunny,
thank you for the clear and straightforward guide, appreciated
reached the end almost error-free, just that I am getting “Unable to Connect with MySQL”, upon validating the install.
Now I’m guessing it’s likely related to routing (and allowing the necessary ports over the network), but did notice “ramlal” being mentioned in the respective page: $link = mysqli_connect(“localhost”, “admin”, “ramlal”, “test”);
Did execute a lookup online, but there seems to be no reference (that I could find anyway); what is it?
and any tip you can share (how to analyze and address the symptom) is greatly appreciated
Cheers, Andor
I am “unable to connect Mysql” . I did step by step. What could go possibly wrong?
Hi,
I have the same problem. I found literactly the instructions but at the end I see the following message:
Unable to Connect with MySQL
Could you support?
Thanks
SolarFlor